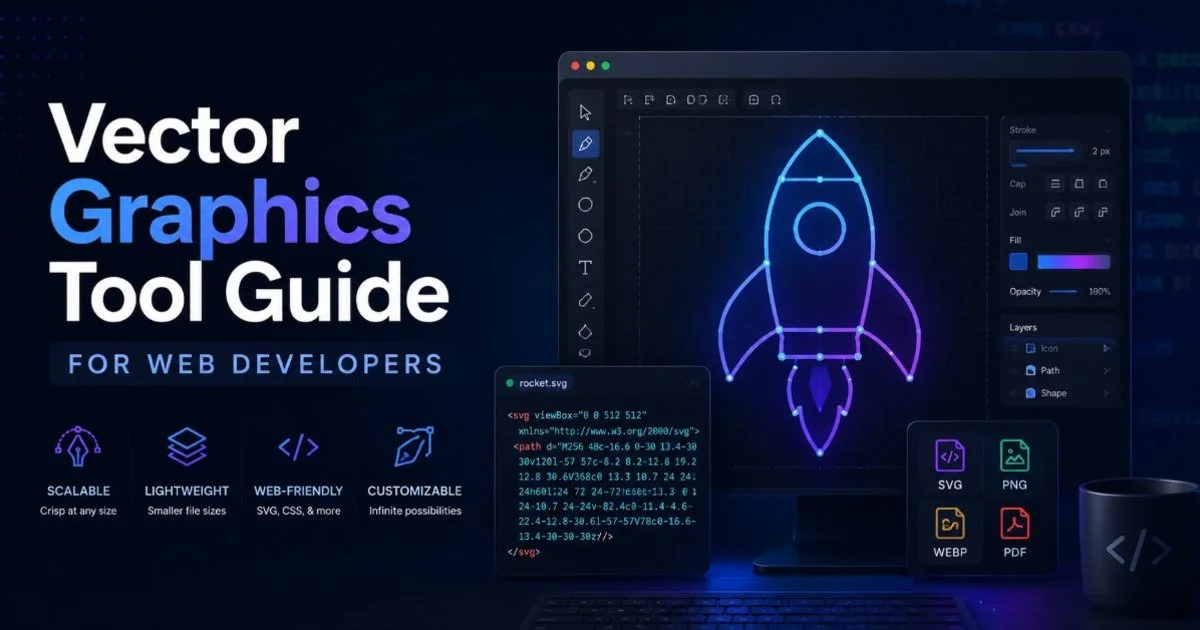
This vector graphics tool guide for web developers addresses a gap that many front-end professionals face: choosing and using the right SVG tools for production work. Whether you're building a component library, designing a landing page, or optimizing performance across devices, your choice of vector graphics tool directly shapes the quality and speed of your workflow.
The shift from raster to vector has accelerated over the past five years, driven by responsive design requirements and retina displays. Yet many developers still rely on inefficient manual processes or bloated design software when lighter, faster options exist.
This guide walks you through four practical steps for selecting, generating, optimizing, and integrating scalable vector graphics into your web projects. If you're new to the concept, our complete guide on what text to SVG conversion actually involves is worth reading first.
Key Takeaways
- Match your vector graphics tool to your project scope, team size, and output format.
- An SVG generator can produce icons, badges, and labels from simple text input.
- Optimized SVG files load faster and render sharply on every screen resolution.
- Inline SVG gives you CSS and JavaScript control that external images cannot offer.
- Automated pipelines reduce human error and keep SVG assets consistent across builds.
Step 1: Choose the Right Vector Graphics Tool
The first decision in any vector graphics tool guide for web developers is picking software that fits your actual needs, not the most popular option on Twitter. A solo freelancer building a portfolio site has different requirements than a team of ten maintaining a design system. Consider output format (SVG, PDF, EPS), collaboration features, pricing, and whether the tool integrates with your existing build pipeline. Getting this right saves you hours of rework later.
For full-featured illustration work, tools like Inkscape (free, open source) and Figma (browser-based, collaborative) remain top choices. Inkscape gives you granular control over SVG markup and supports batch processing through command-line extensions. Figma excels at team collaboration and component reuse, though its SVG export sometimes includes unnecessary wrapper elements that need cleanup. Adobe Illustrator is still the industry standard for complex vector artwork, but its subscription cost and desktop-only nature make it less appealing for quick web tasks.
Desktop vs. Browser-Based Tools
Browser-based tools have matured significantly. Services like TXT To SVG let you convert plain text into clean SVG output without installing anything. This matters when you need quick SVG icons or labels and don't want to open a full design application. The tradeoff is that browser tools typically handle simpler tasks, while desktop software remains better for detailed path editing and multi-artboard projects.
Your project complexity should drive the decision. If you're generating badges, labels, or simple iconography from text, a browser-based SVG generator handles the job in seconds. For detailed illustrations or animations with dozens of layers, desktop software is still the practical choice. Many professional developers keep both types in their toolkit and switch based on the task at hand. Understanding why scalable vector graphics beat raster images will reinforce why investing in the right tool matters.
Start with a browser-based tool for quick tasks; graduate to desktop software only when your project demands complex path manipulation.
Step 2: Generate SVG Assets From Text
Text to SVG conversion is one of the fastest ways to produce web-ready vector assets. Instead of manually drawing each icon or badge in a design tool, you type the text you want and let the generator handle the rendering. The output is a clean SVG file with proper viewBox attributes, font outlines converted to paths, and minimal markup. This approach works especially well for navigation labels, status badges, button icons, and branded text elements.
Text to SVG Conversion Workflow
A typical workflow starts with defining your text content and style parameters: font family, size, weight, color, and any background shape. The SVG generator processes these inputs and produces vector output where each character is rendered as scalable paths rather than embedded font references. This matters because path-based SVG displays correctly everywhere, regardless of whether the viewer's system has your chosen font installed. For a step-by-step walkthrough, see our guide on creating SVG icons from text in 5 easy steps.
Once generated, review the SVG markup. A well-built generator produces output with logical grouping (using <g> elements), readable IDs, and no redundant attributes. Watch for common issues like unnecessary transforms, hard-coded pixel dimensions instead of relative units, or embedded metadata bloating the file. Good generators strip these automatically; cheaper ones leave the cleanup to you. Either way, always inspect the raw SVG before dropping it into production.
Batch generation is where text to SVG conversion really shines for larger projects. If you need 30 category icons for an e-commerce site, you can feed a list of text labels into a generator and receive a complete set of consistently styled SVG files in minutes. This consistency is nearly impossible to achieve when hand-drawing each icon separately. You can learn more about advanced generation techniques in our article on how to use an SVG generator for custom icons.
"The best SVG workflow is one where your tools handle repetition so you can focus on design decisions."
Step 3: Optimize SVG Files for Production
Raw SVG output from any tool, whether Figma, Illustrator, or an online generator, almost always contains unnecessary code. Editor metadata, hidden layers, redundant decimal precision, and unused definitions add bytes without visual benefit. On a page loading 15 to 20 SVG assets, unoptimized files can add 50 to 100KB of unnecessary weight. Optimization is not optional for production sites; it is a performance requirement.
Manual vs. Automated Optimization
SVGO (SVG Optimizer) is the industry-standard Node.js tool for automated SVG cleanup. It runs a configurable set of plugins that remove metadata, collapse groups, merge paths, minimize IDs, and round numbers. You can integrate SVGO into your build process via webpack, Vite, or a simple npm script. For one-off files, SVGOMG provides a browser interface with real-time preview of each optimization toggle.
| Plugin | What It Does | Typical Savings |
|---|---|---|
| removeMetadata | Strips editor metadata and comments | 5 to 15% |
| cleanupIDs | Minifies and deduplicates ID attributes | 3 to 8% |
| mergePaths | Combines adjacent paths with identical styles | 10 to 25% |
| removeUselessDefs | Deletes unused defs and symbol blocks | 2 to 10% |
| convertPathData | Shortens path commands and reduces precision | 15 to 30% |
| removeViewBox | Removes viewBox when width/height are set (use cautiously) | 1 to 2% |
Disabling removeViewBox can cause responsive scaling issues. Always keep viewBox on SVGs intended for fluid layouts.
Manual optimization still plays a role when automated tools can't safely merge complex artwork. Sometimes SVGO's mergePaths plugin combines shapes that you intended to animate separately, or cleanupIDs breaks a CSS selector targeting a specific element. Run optimization on a copy of your source files and visually compare the output before committing. Automated tools are smart, but they lack context about your animation or interaction plans.
A practical approach is layering both methods. Let SVGO handle the bulk reduction through your CI pipeline, then manually review any SVGs that serve as animated components or interactive elements. This hybrid strategy typically achieves 50 to 70% file size reduction while preserving every visual and functional detail you need.
If your SVGs contain embedded raster images (common with traced bitmaps), optimization gains will be minimal. Convert those areas to true vector paths for maximum benefit.
Step 4: Integrate SVG Into Your Web Projects
This vector graphics tool guide for web developers would be incomplete without covering integration methods. You have four primary options for placing SVG on a web page: inline SVG in HTML, the <img> tag, CSS background-image, and the <object> tag. Each method has distinct implications for styling, caching, accessibility, and performance. Inline SVG offers the most control, letting you target individual paths with CSS and manipulate elements via JavaScript.
For icon systems, SVG symbol sprites remain highly efficient. You define all icons inside a single hidden SVG block using <symbol> elements, then reference them throughout your HTML with <use>. This approach loads one HTTP request for all icons, supports styling via CSS custom properties, and keeps your markup clean. Tools like svg-sprite and svgstore automate sprite sheet generation from individual SVG files during your build step.
Security and Accessibility Considerations
SVG files can contain JavaScript, which introduces a real security vector. If your application accepts user-uploaded SVG content, you must sanitize it rigorously to prevent XSS attacks. Libraries like DOMPurify can strip malicious scripts from SVG markup before rendering. For broader security guidance in your web applications, refer to resources on best practices for web API security and top secure code review tools for developers.
Accessibility is equally important. Every meaningful SVG should include a <title> element for screen readers, and decorative SVGs should carry aria-hidden="true". When using inline SVG, add role="img" and an aria-labelledby attribute pointing to the title element. These small additions take seconds to implement but make your site usable for the roughly 15% of the global population living with some form of disability. Testing with screen readers like NVDA or VoiceOver during development catches issues that automated tools miss.
Add focusable="false" to inline SVGs to prevent keyboard navigation from getting trapped inside decorative graphics in Internet Explorer and older Edge.
Framework-specific integration also deserves attention. React projects benefit from tools like SVGR, which converts SVG files into React components with proper prop forwarding and tree-shaking support. Vue developers can use vue-svg-loader for similar functionality. These tools fit naturally into a modern vector graphics tool guide for web developers because they bridge the gap between design output and component-based architecture, keeping your SVG assets as first-class citizens in your codebase.
Frequently Asked Questions
?How do I remove Figma's unnecessary wrapper elements after SVG export?
?Is Inkscape worth using over TXT To SVG for generating web icons?
?How much time does setting up an automated SVG pipeline actually save?
?Does using inline SVG instead of external image files create security risks?
Final Thoughts
Building a solid SVG workflow requires deliberate choices at every stage, from tool selection through optimization and integration. This vector graphics tool guide for web developers covered the practical steps that matter most: picking the right tool for your project scope, generating assets efficiently through text to SVG conversion, optimizing aggressively for production, and integrating with accessibility and security in mind.
Start by auditing your current process, identify where you're losing time, and apply the specific techniques from each step. Your sites will load faster, scale better, and serve every user more effectively.
Disclaimer: Portions of this content may have been generated using AI tools to enhance clarity and brevity. While reviewed by a human, independent verification is encouraged.